First of all, kindly pardon the long hiatus. The entire division (which I'm currently a part of) in our office has moved to a new building.
My work area is still quite a mess. My keyboard's dusty. I only had my internet connection restored just a while ago. Yup, I survived five full days at the office without opening a browser... or my email client... which translates into a ton of work piling up on my doorstep. Yay.
Due to feeling sleepy (and lazy), my last post made no mention on how I arrived at this --
OK, here goes.
After snap-building the kit, I dis-assembled it and used Tamiya Cement to glue the pieces together. A bit of drying time elapsed (probably an hour), then I sanded down the excess cement to remove the fugly seam lines.
With no primer at all, I airbrushed Chrome Silver (Tamiya enamel) all over the li'l fella as a base coat... up until that moment, I still wasn't decided on his colorway. Original? Roll-out? One-year war? Any of the three would do, as long as it has a metallic touch to it.
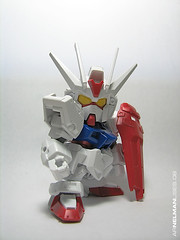
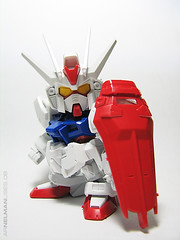
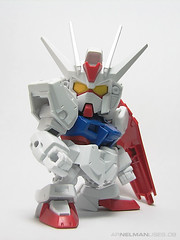
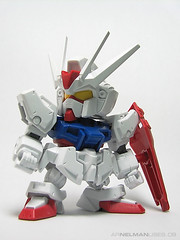
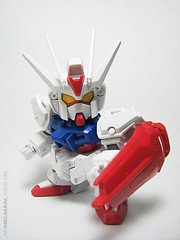
I finally decided to apply the original colors.
Clear Yellow (Tamiya acrylic) was sprayed on top of the base coat to achieve the look of gold.
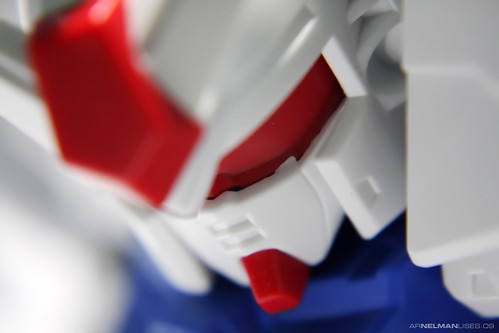
Clear Red (Tamiya acrylic) was sprayed on top of the Chrome Silver to get that candy-red appearance... although the angle of which I took the image doesn't quite show it. Lazy, I told you.
Clear Blue (Tamiya acrylic) was also sprayed on top of the base coat for the body. I was feeling contented while I was spraying until I got a little over-excited and sprayed too much, too soon. The underlying coats of blue, unfortunately, bled. I had to strip off the blue acrylic with 99% IPA. This mistake caused a bit of a delay.
Deviating a bit from the clear-colored acrylics, I decided to use Metallic Blue (Tamiya enamel) for the body.
Gun-metal Gray (Tamiya enamel) was used for the internals and the gun.
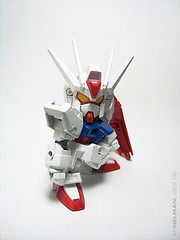
Two coats of FFA (Future Floor Acrylic) were handbrushed on the parts to bring out the colors. FFA did wonders to make the reds come alive. I tell you, it
does make a difference... aside from the fact that it'll make your kits glossy like crazy!
A word regarding FFA though... it will only gloss coat your kit. If you're looking for protection for your kits against, say scratching, look some place else... FFA is not the thing for you. Apply a coat (or two) of clear polyurethane if you want your kit virtually un-scratch-able. ^_^
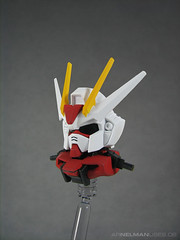
The lighting. Ahh yes, the lighting of the kit. I only used an overhead light source. I told you I was lazy. :)
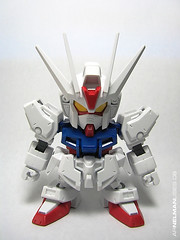
I'm still in the process of acquiring water slide decals for the OYW RX-78-2 MG. Once I get a hold of 'em, I'll be completing the last two percent. Hopefully, I wouldn't be too lazy to take more shots by then.
Lastly, the eyes were Photoshopped... in case you're wondering. ^_^


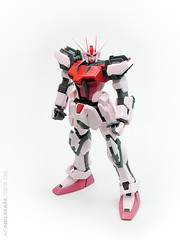
 My primed-white Exia, and
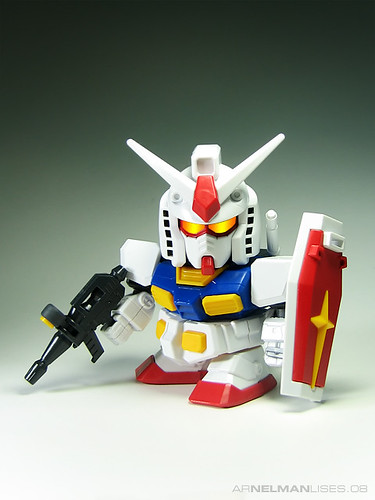
 my metallic SD RX-78-2
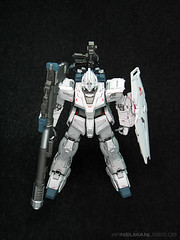
 Straight snap-built out of the box.
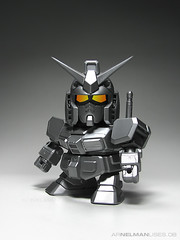 Painted silver and prepped for the intended colorway.
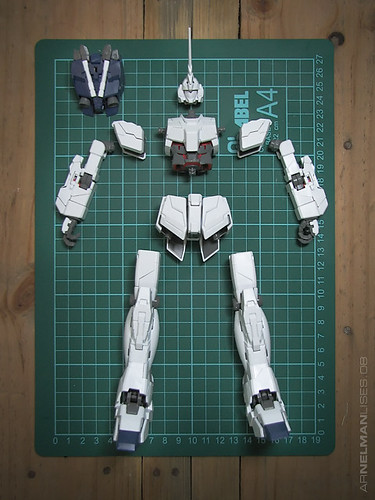
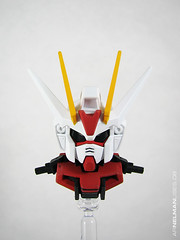
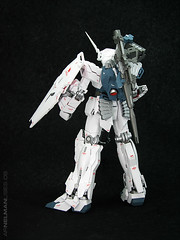
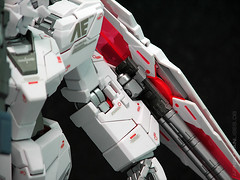
 My Unicorn Gundam, prior to sharpening its horn. Notice how un-Unicorn it looks like with the horn not sharpened? Ugh!
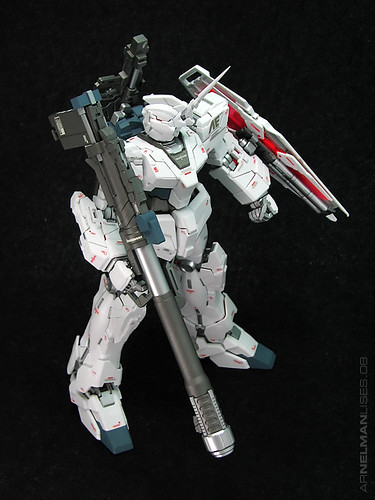
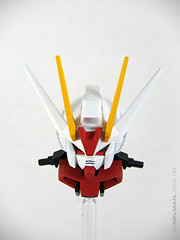
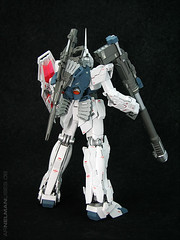
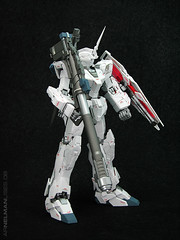
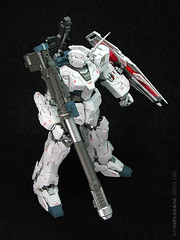
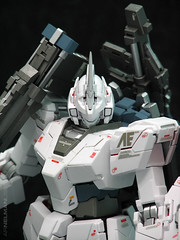
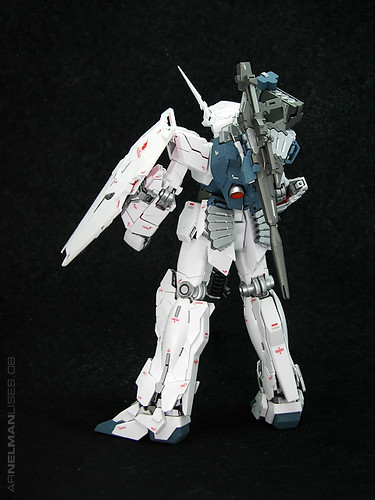 There... I think that's a bit better, right?
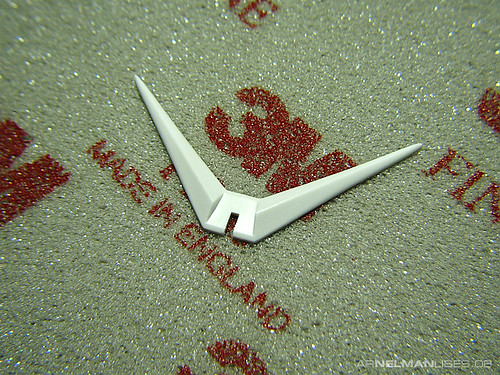
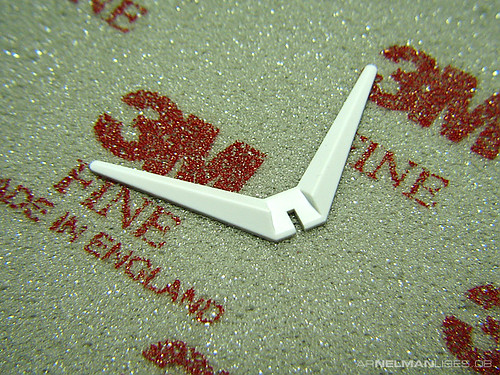 The SD RX-78-2's v-fin and 3M fine-grit sanding sponge.
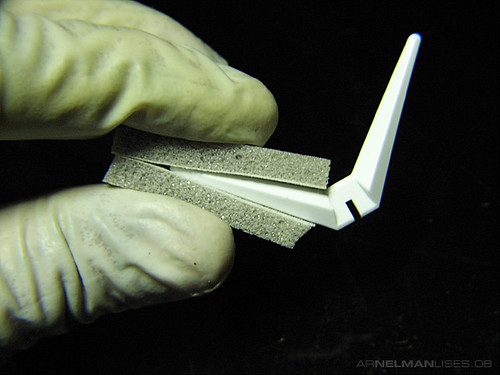 The sponge sandwich. ^_^
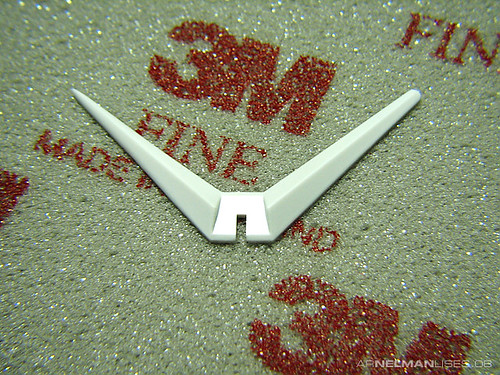 The left fin is now sharpened compared to the untouched fin on the right.